
#webhookautomation
webhookautomation
1 views
3 Discussing
Hot
Latest

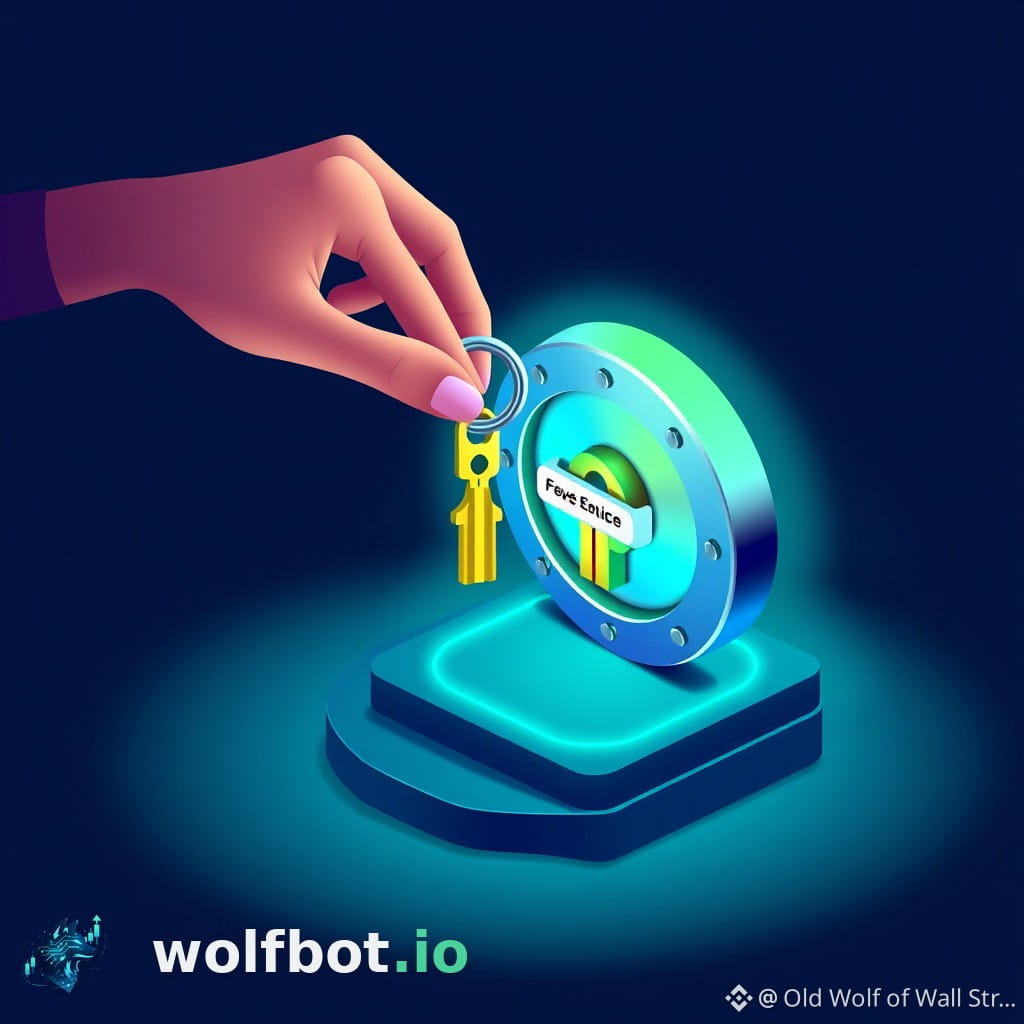
The gap between a TradingView green arrow and a filled, risk-controlled trade is where most automation setups fail. 🧐
Understanding that the alert is just a signal, and risk is only incurred after the order passes through the entire execution pipeline, changes everything.
Here is the controlled path we enforce for every incoming signal:
1. The raw alert arrives via webhook.
2. The system authenticates the incoming payload and validates the message. 🛡️
3. The platform performs payload mapping to translate non-standard fields into a standardized order intent (symbol, direction, size).
4. The process moves through controlled steps: alert arrives -> system validates/maps -> risk guards check -> order is sent and reconciled. ✅
5. WolfBot handles the complex internal steps, validating the payload and mapping data, ensuring only authenticated alerts proceed into the execution pipeline.
See exactly how this controlled flow works by reviewing our detailed guide on webhook automation: https://wolfbot.io/en/academy/tradingview-webhook-automation-explained
#WebhookAutomation #TradingView #CryptoAutomation #TradingBot #SignalToTrade
The gap between a TradingView green arrow and a filled, risk-controlled trade is where most automation setups fail. 🧐
Understanding that the alert is just a signal, and risk is only incurred after the order passes through the entire execution pipeline, changes everything.
Here is the controlled path we enforce for every incoming signal:
1. The raw alert arrives via webhook.
2. The system authenticates the incoming payload and validates the message. 🛡️
3. The platform performs payload mapping to translate non-standard fields into a standardized order intent (symbol, direction, size).
4. The process moves through controlled steps: alert arrives -> system validates/maps -> risk guards check -> order is sent and reconciled. ✅
5. WolfBot handles the complex internal steps, validating the payload and mapping data, ensuring only authenticated alerts proceed into the execution pipeline.
See exactly how this controlled flow works by reviewing our detailed guide on webhook automation: https://wolfbot.io/en/academy/tradingview-webhook-automation-explained
#WebhookAutomation #TradingView #CryptoAutomation #TradingBot #SignalToTrade
Understanding that the alert is just a signal, and risk is only incurred after the order passes through the entire execution pipeline, changes everything.
Here is the controlled path we enforce for every incoming signal:
1. The raw alert arrives via webhook.
2. The system authenticates the incoming payload and validates the message. 🛡️
3. The platform performs payload mapping to translate non-standard fields into a standardized order intent (symbol, direction, size).
4. The process moves through controlled steps: alert arrives -> system validates/maps -> risk guards check -> order is sent and reconciled. ✅
5. WolfBot handles the complex internal steps, validating the payload and mapping data, ensuring only authenticated alerts proceed into the execution pipeline.
See exactly how this controlled flow works by reviewing our detailed guide on webhook automation: https://wolfbot.io/en/academy/tradingview-webhook-automation-explained
#WebhookAutomation #TradingView #CryptoAutomation #TradingBot #SignalToTrade
1
28
·
--
Stop leaving profits on the table because your breakout signal is perfect but execution feels manual. 📉
Connecting your TradingView alerts directly to automated execution requires a precise, multi-step handshake that prioritizes security and sequence.
Here is the methodical process to reliably connect TradingView alerts to WolfBot:
1. First, set up a secure, publicly accessible HTTPS endpoint for WolfBot to receive the signal (tools like Cloudflare Tunnel work well here). 🔒
2. Next, create a dedicated TradingView source within WolfBot to generate a unique secret and a specific webhook URL.
3. Crucially, validate the entire webhook flow by testing the endpoint directly using a tool like curl with the required secret and payload structure.
4. When configuring the alert in TradingView, paste the full WolfBot webhook URL and use a JSON payload including the source secret, target symbol, and desired action (e.g., "buy" or "close_long").
5. Remember: WolfBot handles the complex internal steps—like validating the secret and queuing the command—so you only focus on the signal payload.
6. Always start testing the entire workflow on a Simulation account within WolfBot before risking any live capital. 🧪
For a detailed walkthrough of these steps, review the official documentation here: https://community.wolfbot.io/docs/tradingview
#AutomatedTrading #TradingView #WebhookAutomation #CryptoBot #Crypto
Stop leaving profits on the table because your breakout signal is perfect but execution feels manual. 📉
Connecting your TradingView alerts directly to automated execution requires a precise, multi-step handshake that prioritizes security and sequence.
Here is the methodical process to reliably connect TradingView alerts to WolfBot:
1. First, set up a secure, publicly accessible HTTPS endpoint for WolfBot to receive the signal (tools like Cloudflare Tunnel work well here). 🔒
2. Next, create a dedicated TradingView source within WolfBot to generate a unique secret and a specific webhook URL.
3. Crucially, validate the entire webhook flow by testing the endpoint directly using a tool like curl with the required secret and payload structure.
4. When configuring the alert in TradingView, paste the full WolfBot webhook URL and use a JSON payload including the source secret, target symbol, and desired action (e.g., "buy" or "close_long").
5. Remember: WolfBot handles the complex internal steps—like validating the secret and queuing the command—so you only focus on the signal payload.
6. Always start testing the entire workflow on a Simulation account within WolfBot before risking any live capital. 🧪
For a detailed walkthrough of these steps, review the official documentation here: https://community.wolfbot.io/docs/tradingview
#AutomatedTrading #TradingView #WebhookAutomation #CryptoBot #Crypto
Connecting your TradingView alerts directly to automated execution requires a precise, multi-step handshake that prioritizes security and sequence.
Here is the methodical process to reliably connect TradingView alerts to WolfBot:
1. First, set up a secure, publicly accessible HTTPS endpoint for WolfBot to receive the signal (tools like Cloudflare Tunnel work well here). 🔒
2. Next, create a dedicated TradingView source within WolfBot to generate a unique secret and a specific webhook URL.
3. Crucially, validate the entire webhook flow by testing the endpoint directly using a tool like curl with the required secret and payload structure.
4. When configuring the alert in TradingView, paste the full WolfBot webhook URL and use a JSON payload including the source secret, target symbol, and desired action (e.g., "buy" or "close_long").
5. Remember: WolfBot handles the complex internal steps—like validating the secret and queuing the command—so you only focus on the signal payload.
6. Always start testing the entire workflow on a Simulation account within WolfBot before risking any live capital. 🧪
For a detailed walkthrough of these steps, review the official documentation here: https://community.wolfbot.io/docs/tradingview
#AutomatedTrading #TradingView #WebhookAutomation #CryptoBot #Crypto

1
83
Log in to explore more content
Join global crypto users on Binance Square
⚡️ Get latest and useful information about crypto.
💬 Trusted by the world’s largest crypto exchange.
👍 Discover real insights from verified creators.
Email / Phone number
Trending Topics
1
#WhoWillSucceedJensenHuangatNvidia?
169,512 views
1,644 Discussing
2
#WhatWillDriveCryptoandStocks’NextRebound?
573,480 views
3,483 Discussing
3
#BitcoinActiveSupplyInProfitDropsBelow45%
75,005 views
710 Discussing
4
#KavaSaysAbnormalActivityLimitedToKavaLend
41,063 views
396 Discussing
5
#USSpotXRPETFsSeeLargestWeeklyOutflowIn8Months
32,130 views
343 Discussing
6
#USPPIMissMayEaseBTCPressure
299,197 views
2,262 Discussing
7
#WORPTLetsTouristsConvertCryptoToThaiBaht
10,170 views
96 Discussing
8
#TONStrategyReports$23.97MQ3NetLoss
10,661 views
43 Discussing
9
#PolkadotCommunityApprovesNewStrategyWith97%Vote
28,817 views
291 Discussing
10
#dYdXPlansV9.9UpgradeToShiftUSDCToInjective
27,673 views
255 Discussing